The private pool is the single most influential feature in Bali villa marketing. It appears first in the listing title, drives the majority of search filter clicks, and — when photographed correctly — is the image that converts a browsing prospect into a booked guest.
And yet pool photography is also one of the most commonly done wrong. Across thousands of Bali villa listings, the same mistakes appear repeatedly: the wrong time of day, an unprepared pool, awkward angles, or missing the narrow window when the shot goes from good to extraordinary.
This guide covers everything that separates a pool photo that says “it has a pool” from one that makes people stop scrolling.
The Preparation That Happens Before the Camera Comes Out
Great pool photography is largely determined by preparation, not photography. A perfectly prepared pool will photograph beautifully in the hands of a competent photographer. An unprepared pool cannot be saved in post-processing.
Water clarity: Pool water must be clear and brilliantly blue. Anything less than this — haze, cloudiness, green tinge — is immediately apparent in photography. Run the filter continuously for 24 hours before the shoot. Test and adjust chemical balance the day before. A pool treated correctly will photograph clear; a pool neglected for a week will not.
Surface stillness: Wind creates surface ripples that destroy reflection quality. Schedule pool photography for early morning (before sea breezes begin) or early evening (after afternoon winds drop). Check your specific location’s typical wind patterns — coastal Seminyak and beachfront areas are windier than inland Ubud or Canggu.
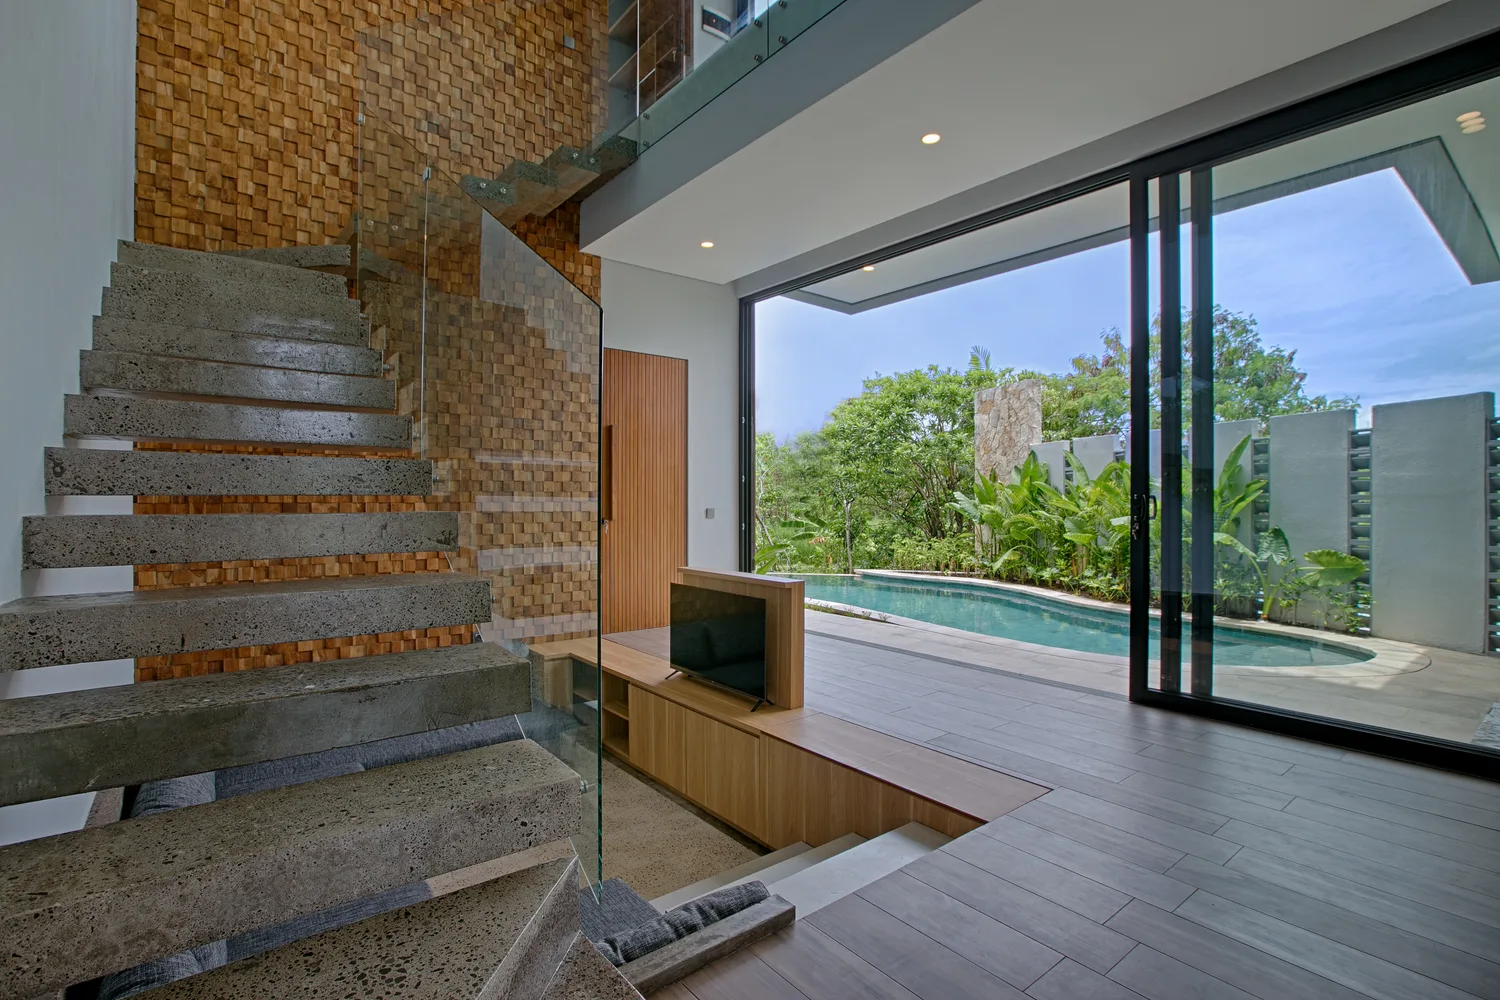
Pool surroundings: The area immediately adjacent to the pool — decking or stone surround, sun loungers, plants, pool equipment housing — all appears in your pool photographs. Sun loungers should be symmetrically placed, freshly cleaned, with neatly folded towels. Remove pool cleaning equipment, hoses, and any maintenance items from the shooting area.
Pool lights: For twilight and blue hour photography (the most important pool shots), pool lights must be functioning perfectly. Test every light the day before the shoot. A pool with one non-functioning light in an otherwise symmetrical lighting scheme will look asymmetrical and imperfect in photographs — and in the dark it’s very visible.
The Four Essential Pool Shots
1. The Hero Pool Shot (Golden Hour or Blue Hour)
This is your cover photo and the centrepiece of your listing’s visual identity. It needs to be perfect.
Blue hour (most effective): 30–45 minutes after sunset. Sky is deep, saturated blue. Pool lights illuminate the water from within, creating a glowing turquoise or blue against the dark setting. Interior villa lights glow warm through open doors, creating a contrast between the cool exterior and warm interior that signals inhabited luxury.
Golden hour (second choice): The 45 minutes before sunset. Low, warm light rakes across the pool surface at a flattering angle. If the villa faces east, morning golden hour is equivalent.
2. The Overhead or Wide Perspective
A photo that shows the complete pool in context — its full dimensions, surrounding garden, and relationship to the villa — answers the primary question guests have about a private pool: “How big is it, and how private does it feel?”
For large pools or properties with distinctive grounds, drone photography from 15–25 metres altitude provides this perspective without distortion. For properties where drone photography isn’t practical, a high second-floor vantage point or a wide-angle lens at maximum height can approximate this.
3. The Experiential Pool Shot
A photo that puts the viewer mentally in the pool — taken from water level, looking across the pool surface toward the villa or view beyond. This “swimmer’s perspective” is one of the most compelling shots in villa photography because it creates a direct sensory response.
Composition: camera at water level or just above, looking across the pool toward the villa facade, bale, or landscape view. If the pool has an infinity edge, this is where it’s shown to best advantage.
4. The Lifestyle Pool Shot
A photo that implies occupation — sun loungers set with towels and books, a drinks tray beside the pool, a half-shaded daybed. This shot converts viewers who respond to imagined experience rather than architectural features.
Note: this photo should be aspirational but honest. If your sun loungers are cheap plastic, don’t photograph them to look premium. If they’re genuinely high-quality teak or aluminium sun beds, make sure they’re styled appropriately.
Technical Considerations for Pool Photography
White balance: Pool photography at twilight requires careful white balance management. The pool water is illuminated with blue-tinted pool lights, the villa interior glows with warm tungsten. A single white balance setting will make one or the other look wrong. Professional post-processing typically addresses this with zone-specific colour correction.
Exposure for reflections: The pool surface reflects sky, buildings, and light sources. Getting correct exposure for the reflection while maintaining detail in the pool interior (the tiles, the depth) often requires HDR techniques — bracketing multiple exposures and combining them in post-processing.
Polarising filter: For daytime pool photography on bright days, a circular polarising filter reduces glare on the water surface and allows the pool floor and tile colour to show through, rather than a washed-out white reflection. This produces a richer, more appealing pool colour in daytime shots.
The Mistake That Wastes a Great Pool
The single most common pool photography mistake we encounter: shooting the pool at noon with harsh overhead sun.
Midday light creates hard shadows on any textured deck surface, blows out the sky to a flat white, creates unpleasant reflections on the pool surface, and flattens the three-dimensional quality of the surrounding garden. The resulting photo accurately depicts the pool, but without any of the magic that makes a viewer stop and save the listing.
Midday pool photography is appropriate only for pools that face in a direction that receives no direct overhead light — a specific architectural circumstance that applies to relatively few Bali villas.
If your existing listing photos include a pool shot taken in harsh midday light and you’re wondering why your listing isn’t converting as well as you’d expect — that’s likely a contributing factor.
Pool photography is where the investment in professional photography most directly shows up in booking conversion. Talk to us about your villa’s pool photography, or view our packages to understand what a full shoot includes.
Professional Villa Photography in Bali
Ready to Transform Your Villa Listing?
Get a free consultation and see how professional photography can increase your villa's occupancy and nightly rate.