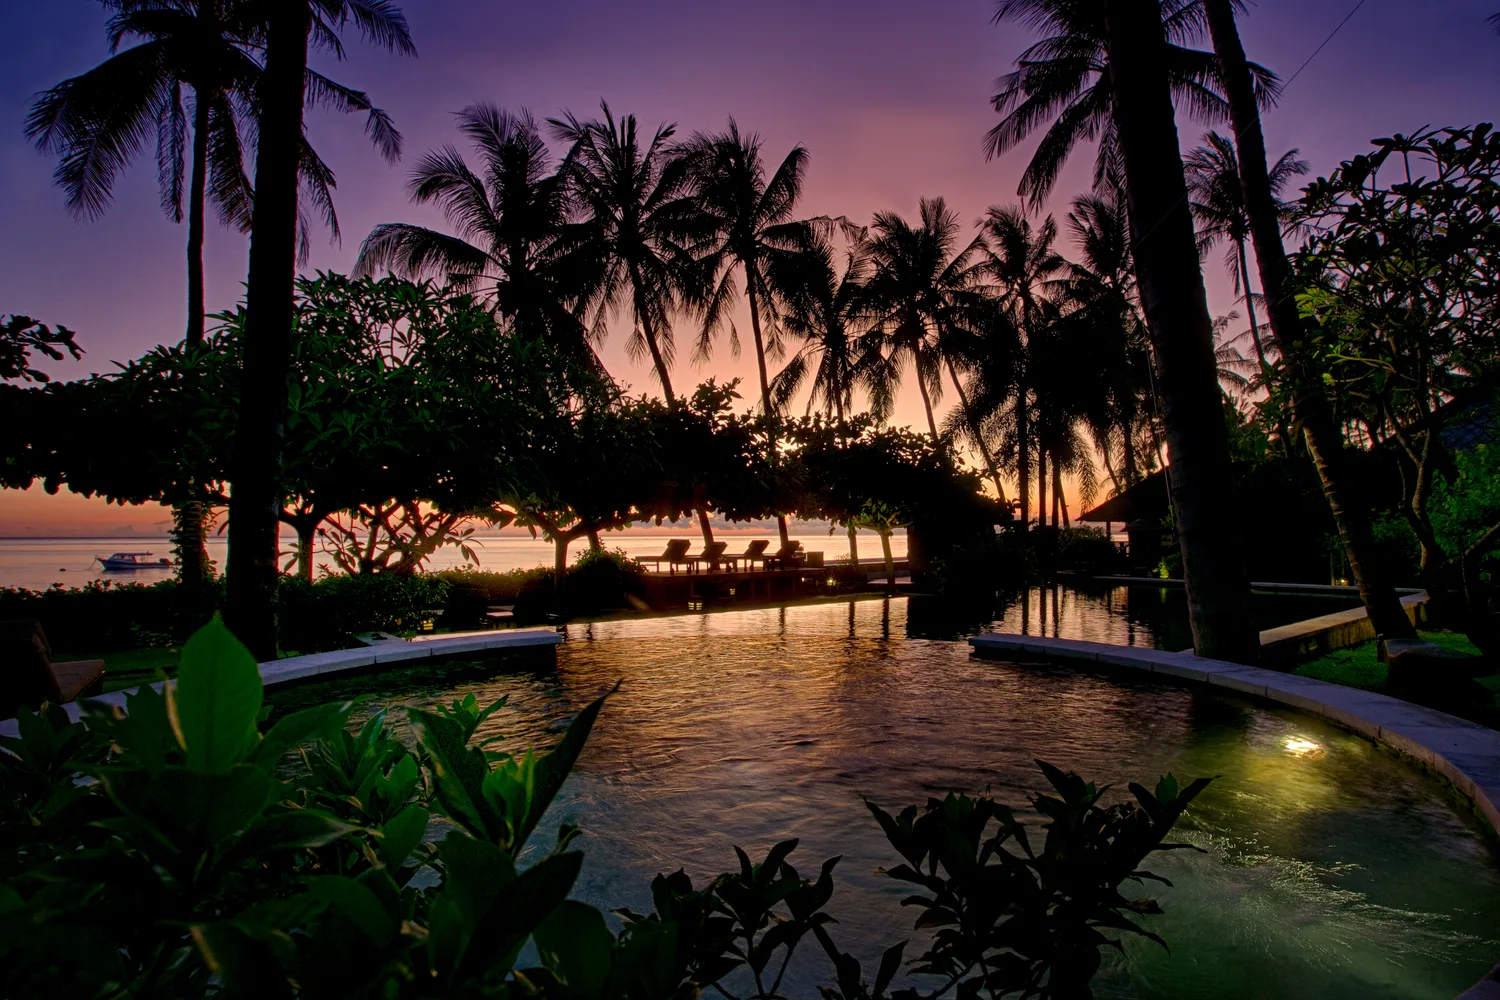
Commissioning professional photography for your Bali villa from overseas involves more moving parts than a local owner might face. You are coordinating across time zones, relying on your villa manager as the on-the-ground point of contact, and making decisions about a property you may not have visited recently. Getting every element right — preparation, timing, styling, delivery, and publishing — requires a clear plan.
This checklist covers the full process, from before you book a photographer through to reviewing your listing performance after the new photos go live. Share the relevant sections with your villa manager so they have clear preparation tasks before the shoot.
Phase 1: Before You Book a Photographer
This phase is about clarity — knowing what you want from the shoot, what the villa’s primary selling points are, and whether the property is actually ready.
-
Define your villa’s primary selling point. Is it the pool? An ocean or rice field view? The architectural design? A rooftop terrace? Identifying this upfront ensures your photographer prioritises accordingly and your cover photo leads with your strongest asset.
-
List every OTA platform you are using. Airbnb, Booking.com, Agoda, VRBO, and your own direct booking website each have different image requirements and interface behaviours. Knowing your full platform footprint helps you plan photo count and ensure you have enough variety for each listing.
-
Confirm the villa is 100% furnished and complete before booking the shoot date. Unfinished rooms, missing furniture, or styling gaps cannot be fixed in post-processing. If any space is not ready, the shoot should wait.
-
Set a budget range and review packages before reaching out to photographers. Understanding the market and what different tiers deliver allows you to evaluate proposals accurately. View our packages to calibrate your expectations.
-
Review photographer portfolios — complete sets, not just highlights. Ask to see a full delivered set from a villa of similar size and style. Complete sets reveal editing consistency, photo count by room, and how the photographer handles challenging light conditions.
-
Confirm commercial usage rights are included. You need unrestricted commercial usage rights for all OTA platforms, permanently, with no credit or attribution requirements. Confirm this in writing before booking.
-
Check the drone permit situation if aerial coverage is required. If your villa is near Ngurah Rai Airport (Kuta, Jimbaran, Nusa Dua areas), commercial drone operation requires permits. Confirm whether your photographer handles permit requirements or whether this falls to you.
Phase 2: Planning the Shoot
With a photographer confirmed, the planning phase ensures the shoot captures everything the villa has to offer at the right time and in the right conditions.
-
Identify which direction your pool and main outdoor space face. West-facing pools and terraces should be photographed at sunset (golden hour). East-facing spaces photograph best at sunrise. This determines the shoot schedule and is non-negotiable for the quality of your hero exterior images.
-
Build a complete shot list. Every room, every bathroom, every amenity, every distinctive feature — kitchen, living areas, outdoor dining, pool, garden, rooftop, staff areas if featured, parking, entrance approach. Include any specific angles or features you know photograph well.
-
Note any seasonal or site considerations. Is the garden at its best now, or would a different month serve better? Is there any construction or development nearby that affects the outlook? Are there any temporary items (maintenance equipment, scaffolding) that need to be removed before the shoot date?
-
Book the shoot date with at least 2–4 weeks of lead time. Good photographers book out, particularly around peak season. Leave enough lead time for pre-shoot preparation to be properly completed.
-
Share the shot list and all access instructions with both the photographer and your villa manager. They should both have the same brief. Your manager needs to know what preparation is required; your photographer needs to know what spaces will be available and in what sequence.
Phase 3: Preparing the Villa
This is where international owners are most dependent on their villa manager. The preparation quality directly determines the photography quality. Share this section with your manager as a specific task list.
Pool and Exterior
- Pool cleaned thoroughly — water should be visually crystal clear, no cloudiness, no visible sediment
- Pool water chemically balanced and treated at least 48 hours before the shoot (so chemical treatments have dispersed and water has settled)
- Garden trimmed, swept, and free of fallen leaves or debris
- Any garden tools, hoses, or maintenance equipment stored out of sight
- Outdoor furniture cleaned and positioned correctly — sun loungers angled to the view, cushions in place
- Pool towels and lounger accessories arranged as they would appear for a guest arrival
Interior Spaces
- All rooms deep cleaned — floors, surfaces, windows
- Fresh white linens on all beds — professionally folded, not just smoothed
- All pillows and cushions arranged neatly and consistently
- Fresh white towels folded and placed in bathrooms per the villa’s standard staging
- All personal items removed from sight — phone chargers, personal toiletries, staff belongings
- All cleaning products, chemicals, and equipment out of sight and out of shot
- Replace any burned-out light bulbs — all lighting should be fully functional
Kitchen and Living Areas
- Kitchen countertops cleared and cleaned — no dishes, no drying racks, no visible cleaning products
- Stage with a single, simple arrangement: a bowl of fresh tropical fruit is the standard and always works
- Fresh flowers or tropical foliage arranged in living areas (one or two spots, not every table)
- Remote controls, books, and surface clutter removed or neatly arranged
Bathrooms
- Fresh towels in display position
- Clean toiletries or amenity bottles arranged neatly (or removed if branded packaging looks poor)
- Mirrors and glass surfaces streak-free
- Toilet lids closed
Phase 4: Day of Shoot
- Villa manager to be present for the full duration of the shoot. The photographer will need access to all spaces, assistance with any last-minute staging adjustments, and a point of contact for on-site decisions.
- All lights working and on. Interior lights create warmth and depth in interior photos — confirm all are functioning and switched on for the shoot.
- Air conditioning on in bedrooms. Keeping rooms cool keeps curtains still and avoids the billowing fabric effect that can appear in exterior-facing bedroom shots.
- Golden hour timing confirmed in advance. The photographer should arrive in time to set up for the golden-hour exterior session without rushing. Confirm the exact start time for this portion of the shoot the day before.
- Pool heating on (if applicable) for several hours before the shoot. A heated pool’s surface behaves differently from an unheated one — confirm with your photographer whether this is relevant for your property.
Phase 5: Reviewing and Publishing
Receiving the photos is not the end of the process. How you select and sequence images across platforms significantly affects listing performance.
-
Review the full delivered set within 48 hours of receipt. Check for any rooms that were missed, any images with staging issues, or any edits that require adjustment. Most photographers will address reasonable revision requests within the standard turnaround.
-
Select platform-specific cover photos. The optimal cover photo for Airbnb’s search grid may differ from the best image for Booking.com or Agoda, which use different thumbnail formats and sizes. Choose each cover photo for how it reads in that platform’s specific display context — not just how it looks at full resolution.
-
Organise photos by category before uploading. Sort into folders: exterior, pool, living areas, bedrooms, bathrooms, kitchen, amenities, aerial. This makes uploading to multiple platforms faster and reduces sequencing errors.
-
Upload to all platforms and confirm cover photo selection per platform. Check that the cover photo you selected is actually displayed as the cover — platform interfaces sometimes revert to auto-selection.
-
Set remaining photos in a logical order. Hero assets first (the pool at golden hour, the most compelling exterior or aerial shot), then room-by-room coverage in the order guests would experience them on arrival, then amenity details and location context at the end.
-
Update listing descriptions to match any new photos. If the photography captures features not previously mentioned in your description — a view, a specific design detail, a recently added amenity — update your written listing to align.
-
Schedule a 60-day performance check. Airbnb Host Analytics provides click-through rate data for your listing. After 60 days of the new photos being live, check whether your CTR has improved. This is the most direct measure of whether the photography is performing as expected.
For details on packages and what suits your villa’s size and scope, view our pricing.
See our work across a wide range of Bali villas in our portfolio, and contact us to start planning your shoot — we work with international owners remotely throughout the entire process.