The difference between a good property photo and a great one is often made before the photographer arrives.
Professional photography captures what’s in front of the lens — which means a villa that’s been thoughtfully prepared will always yield significantly better results than one that hasn’t. This is true regardless of how skilled the photographer is or how good the camera equipment is.
This guide gives you a complete, room-by-room checklist for preparing your Bali villa for a professional photography session. Whether you’re managing the preparation yourself or delegating it to your villa manager, this is what needs to happen.
Two Days Before the Shoot
Pool and outdoor area:
- Run the pool filter continuously for 24 hours before the shoot
- Vacuum the pool floor and walls thoroughly
- Clean the pool waterline tiles
- Check pool chemical balance (clear, blue water — not green or cloudy)
- Trim any overgrown plants or grass around the pool deck
- Repair any broken pool lights (pool lights matter significantly for twilight shots)
General property:
- Remove any personal items of current guests (if villa was recently occupied)
- Deep clean all glass surfaces: windows, sliding doors, mirrors, glass balustrades
- Clean and polish all tile and stone floors
- Arrange for rubbish collection if there’s a scheduled day — you don’t want bins in frame
- Fix any visible maintenance issues: chipped paint, cracked tiles, broken fixtures
The Day Before the Shoot
Bedroom preparation:
- Wash all bed linen and have it freshly pressed and ready
- Steam or iron pillowcases — wrinkles are very visible in photos
- Check that all bedside lamps work (warm bulbs produce better ambiance than cool fluorescents)
- Clear all surfaces of personal items: phone chargers, medications, toiletries
- Arrange decorative pillows neatly
Bathroom preparation:
- Remove all personal care products from visible surfaces
- Clean grout lines — these are highly visible in close-up bathroom shots
- Polish all chrome fixtures until there are no water spots
- Have fresh white towels ready, neatly folded
- Fill soap dispensers
- Add a small plant or fresh flowers if available
Morning of the Shoot
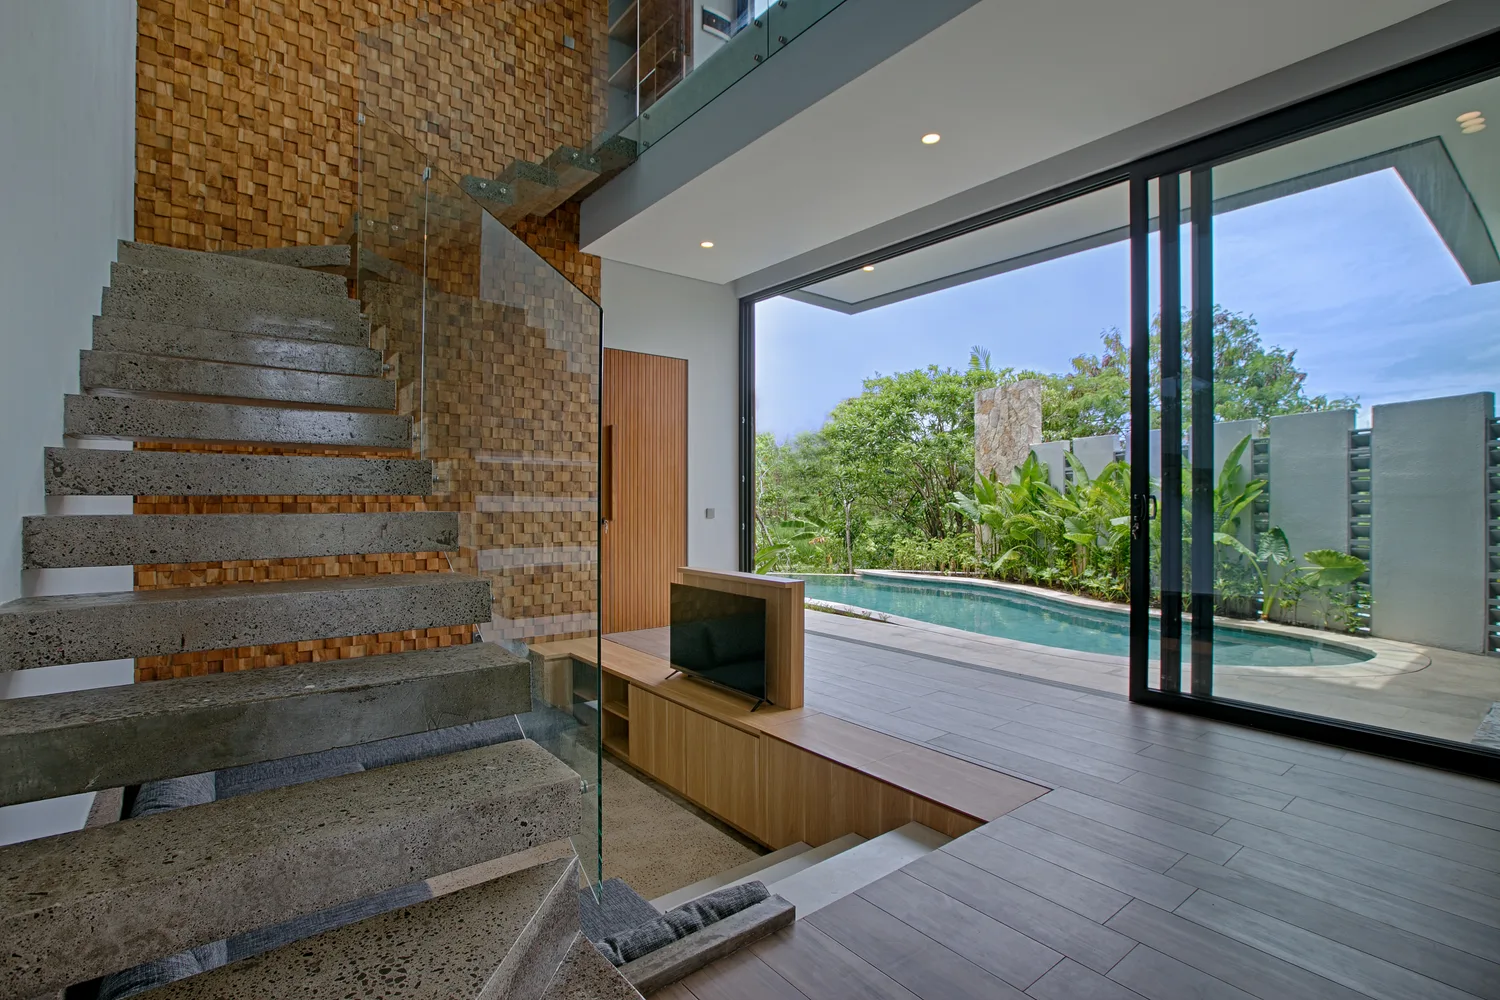
Outdoor area (first priority):
- Arrange sun loungers symmetrically (or in an aesthetically intentional way)
- Place fresh towels on sun loungers, neatly folded
- Add cushions to outdoor furniture
- Position any potted plants for best visual effect — plants can be temporarily moved from elsewhere in the garden
- Remove garden tools, hoses, and anything that shouldn’t be in frame
- Check pool is still clean and still
Kitchen:
- Clear all countertops of appliances (toaster, rice cooker, etc.) unless they’re design elements
- Clean all surfaces until spotless
- Arrange a simple decorative element: a small plant, a bowl of fruit, or a coffee setup
Living area:
- Straighten all cushions and throws on sofas
- Arrange coffee table books or decorative items intentionally
- Remove remote controls, cables, and power strips from view
- Clean all glass tables — fingerprints are very visible
Dining area:
- Set the table as if for a meal — this sells the experience of dining in the villa
- Use matching crockery, wine glasses, simple centrepiece (flowers or candles)
Lighting Preparation
Lighting is one of the most important factors in villa photography and it’s entirely within your control.
Turn on every light in the villa: Table lamps, floor lamps, pendant lights, strip lighting under kitchen cabinets, pool lights — everything on. Even during daytime shoots, interior lights add warmth and fill shadows.
Use warm bulbs where possible: If you have cool fluorescent bulbs in any rooms, replace them with warm white (2700K–3000K) LED bulbs before the shoot. Cool bulbs produce a sterile, unflattering light that’s very difficult to correct in post-processing.
Open all curtains and blinds: Natural light from windows is valuable. Make sure all curtains are fully drawn back and tied neatly — partially open curtains create an awkward mid-shot look.
What NOT to Remove
Some items look better left in place:
- Fresh flowers: If you have fresh flowers, leave them — they add life and color
- Decorative books: Stacked books on a coffee table or shelf add visual interest
- Fruit bowls: A bowl of tropical fruit on the kitchen counter or dining table works well
- Candles: Grouped candles on dining tables or in bathrooms photograph beautifully (they don’t need to be lit for daytime shots)
- Plants: All indoor plants should stay and be positioned prominently
A Note on Styling vs Staging
There’s a difference between styling (making things look their best) and staging (creating an environment that doesn’t represent how the villa actually is).
Styling — arranging towels neatly, placing fresh flowers, turning on all lights — is appropriate and expected. Staging in a misleading way — photographing a bathroom with luxury toiletries you don’t actually provide, or staging a bedroom that’s normally used as storage — sets guest expectations that won’t be met and results in negative reviews.
The goal of good preparation is to show the villa at its genuine best, not to misrepresent it.
Remote Management: How to Delegate This Checklist
If you’re an overseas owner managing this remotely, send this checklist (or a version of it) to your villa manager at least three days before the photography session. Confirm each item is completed the evening before the shoot.
A good professional photographer will also send their own preparation checklist — if yours doesn’t, that may be a signal about their level of experience with commercial property photography.
Need a professional photography session for your Bali villa? View our packages and process or contact us to book a session. We send a detailed preparation checklist to every client before every shoot.
Professional Villa Photography in Bali
Ready to Transform Your Villa Listing?
Get a free consultation and see how professional photography can increase your villa's occupancy and nightly rate.