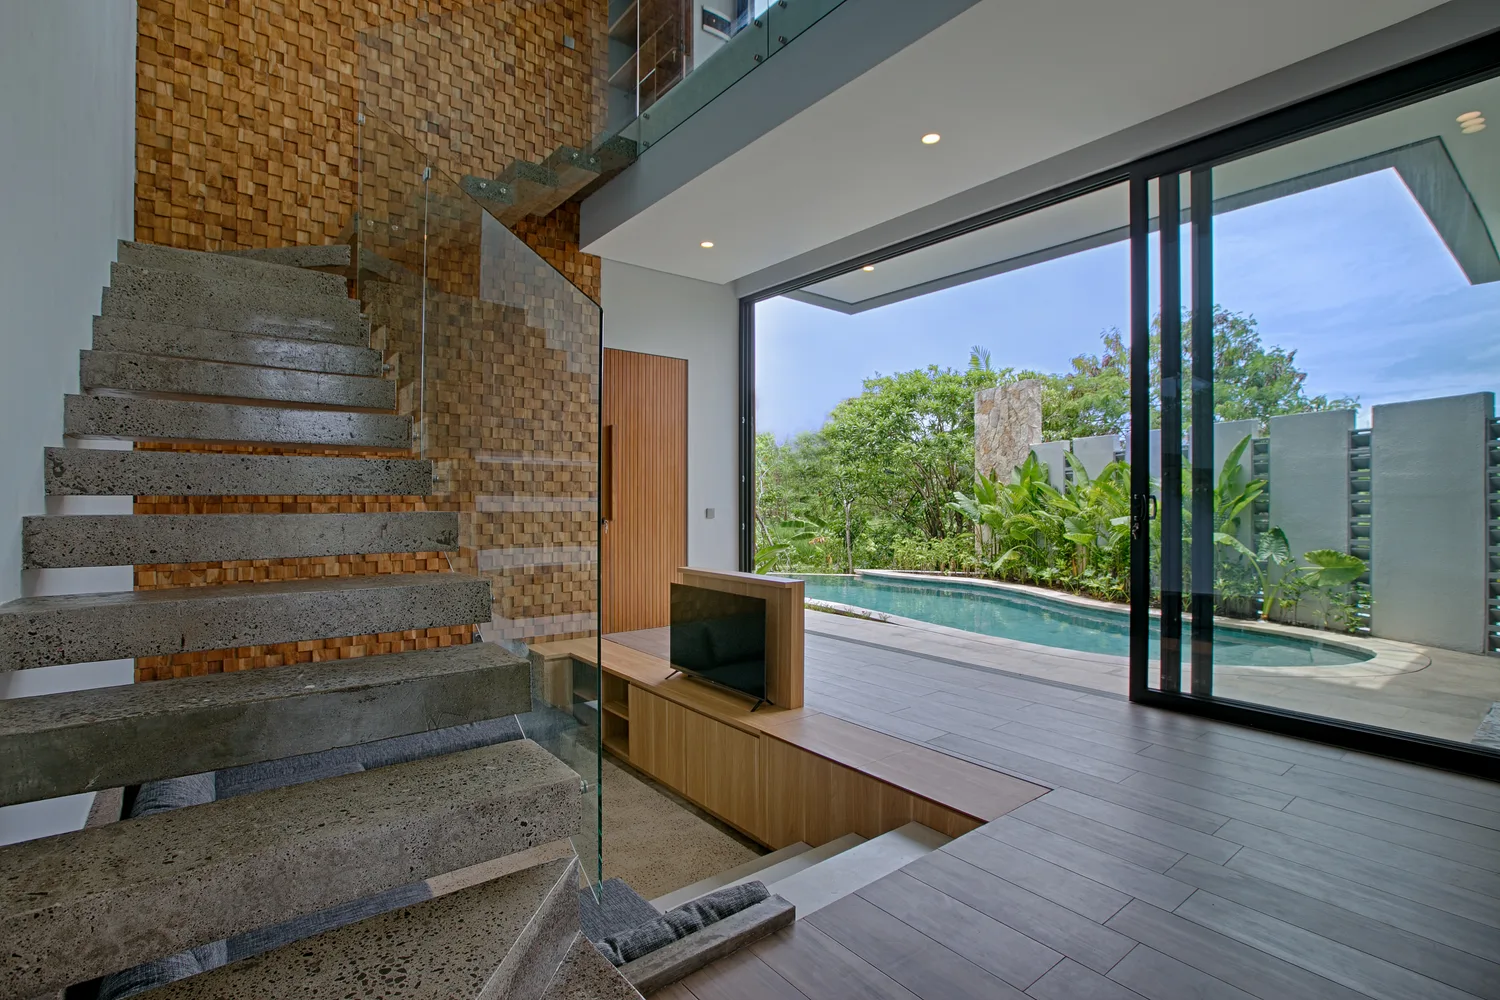
One of the most common questions from villa owners booking their first professional photography session: “How long will this actually take?” It is a reasonable question, and the answer depends on several factors — villa size, scope of deliverables, whether golden hour is included, and how well the property has been prepared before the photographer arrives.
This guide walks through the complete timeline of a professional villa photography session in Bali, from the first booking conversation to final file delivery, so you know exactly what to expect at every stage.
Phase 1: Pre-Shoot (One to Two Weeks Before)
The work begins well before the photographer arrives at your property. A professional shoot starts with a briefing: you describe your villa, its key features, how you use it in OTA listings, and any specific spaces or details you want prioritized. The photographer reviews this information, asks clarifying questions, and begins planning the shot list.
From this briefing, you will typically receive a pre-shoot preparation checklist sent to you or your villa manager. This covers the practical details that make a significant difference to the final photos: which rooms need to be cleared and staged, whether the pool should be cleaned and level-corrected in advance, which outdoor areas need garden maintenance, and what time access will be available.
Confirm the shoot date and time based on the villa’s orientation. A west-facing pool shoots best in the late afternoon; an east-facing villa benefits from morning sessions. Your photographer should advise on the optimal timing for your specific property.
For overseas owners, this pre-shoot coordination typically runs over email and WhatsApp. Allow one to two weeks between booking confirmation and shoot day to ensure your villa manager has adequate time to prepare the property.
Phase 2: Shoot Day — What the Timeline Looks Like
Setup and Walkthrough (30 Minutes)
The photographer arrives and walks through the property before shooting begins. This is not administrative — it is the most important creative step of the day. The walkthrough identifies the actual light conditions in each room at that specific time, notes any staging adjustments needed, and finalizes the sequence of rooms to be shot in the optimal light order.
Your villa manager should be present for this walkthrough. Any furniture adjustments, prop placements, or room staging happens during this window.
Interior Rooms (2–3 Hours)
For a standard 3-bedroom villa, interior photography — master bedroom, secondary bedrooms, bathrooms, living area, kitchen, dining area — typically takes 2 to 3 hours. Each room requires setup: positioning the camera, adjusting any supplemental lighting, styling the space, and shooting multiple frames for each composition.
Bathrooms and kitchens take longer per square meter than bedrooms, because the detail work — faucet reflection management, countertop styling, mirror positioning — is more precise. Budget additional time for any specialty spaces: spa rooms, yoga shalas, home gyms, or any room with complex lighting.
Pool and Outdoor Areas (1 Hour)
Pool and exterior photography follows interior work, timed to take advantage of the available light. A standard session covers the pool from multiple angles (overview, level with water surface, from the villa looking out, and any distinctive features like infinity edge or swim-up bar), the garden and outdoor living areas, the entrance and gate, and any outdoor dining or lounge spaces.
If the villa has a rice terrace view, ocean vista, or distinctive architectural exterior, allocate additional time for these compositions.
Golden Hour Session (45–60 Minutes, If Included)
Golden hour — the 45 minutes before sunset for west-facing properties, or sunrise for east-facing properties — is where pool and exterior photography reaches its highest quality. The warm, low-angle light creates the glow that turns an ordinary pool photo into the kind of hero image that stops guests mid-scroll.
Whether golden hour is included in your shoot depends on the package you select — view our packages for details on what each includes. For a full-day shoot, the standard workflow is interior rooms in the morning, outdoor areas in the afternoon, and golden hour at the close of the session.
Full Day vs. Half Day
A 3-bedroom villa with no specialty spaces (no spa room, yoga shala, or additional structures) is typically achievable in a half-day session of 4–5 hours plus golden hour. A 5-bedroom villa with a compound layout, multiple structures, specialty amenities, and a full outdoor entertaining area will require a full-day shoot — 8 hours, often split across morning interiors and afternoon/evening exteriors. Very large resort-style villas may require two visits.
Phase 3: Post-Processing (5–10 Business Days)
After the shoot, every selected image goes through professional editing: color grading, white balance correction, exposure adjustment, vertical and horizontal correction, and any sky replacement or light enhancement appropriate for the image.
This is not instant. Professional editing of 40–80 images for a full villa takes 5–10 business days for standard delivery. If you need photos urgently — for a listing launch, a booking inquiry pending photos, or a platform deadline — discuss rush delivery options when booking. Rush turnaround is typically available at an additional cost.
What You Receive
On delivery, you receive high-resolution edited files organized by room or area. Standard delivery includes web-optimized files (72dpi, sized for platform upload) and print-quality files (300dpi) in JPEG format. Files are delivered via a shared link — Google Drive, Dropbox, or WeTransfer — with a download window of at least 30 days.
Files are organized by room so your villa manager can easily identify and upload the correct photos to each OTA listing. Captioning conventions (Master Bedroom 1, Pool Overview, Living Area) are applied consistently across the file set.
Revision Process
After you review the delivered photos, most professional photographers include a round of minor revision requests — color tone adjustments, cropping changes, or specific retouching. Submit revision requests in a single consolidated list rather than in multiple messages, and allow 2–3 business days for revised files to be returned.
For Overseas Owners
If you are managing your Bali villa remotely, add 1–2 days to each communication stage for timezone coordination. WhatsApp is the standard channel for day-of coordination with your villa manager. The shoot itself runs through your on-the-ground contact; you review and approve the delivered photos from wherever you are.
The entire process — from first inquiry to final photos in hand — typically takes 3–4 weeks when run at a measured pace. For urgent timelines, experienced Bali villa photographers can often compress this to 10–14 days.
To see the quality of photos that result from this process, visit our portfolio. To discuss timing, scope, and booking for your villa, contact us.